Forms allow users to enter data that is sent to a server for processing. This lesson goes beyond the basics, covering how to create interactive and enhanced forms that validate input, provide feedback, and improve user experience.

HTML Interactive Forms and <form> Enhancements Syntax
Explanation of Syntax:
<form action="submit_form.php" method="post">: Creates a form that will send data to “submit_form.php” using the POST method. Theactionattribute specifies the server-side file to handle the data, andmethod="post"ensures secure data submission.<label for="name">Name:</label>: Label associated with the form field that enhances accessibility and usability.<input type="text" id="name" name="name" required>: A text input field where users enter their name. Therequiredattribute means the form won’t submit unless this field is filled in.<input type="email" id="email" name="email" required>: An email input field that validates proper email format.<input type="password" id="password" name="password" minlength="8" required>: A password field that requires a minimum of 8 characters for security.<input type="number" id="age" name="age" min="18" max="100" required>: A number input restricted between 18 and 100, ideal for collecting age data with validation.<input type="submit" value="Submit">: The button users click to submit the form data for processing.
<form action="submit_form.php" method="post">
  <label for="name">Name:</label>
  <input type="text" id="name" name="name" required>

  <label for="email">Email:</label>
  <input type="email" id="email" name="email" required>

  <label for="password">Password:</label>
  <input type="password" id="password" name="password" minlength="8" required>

  <label for="age">Age:</label>
  <input type="number" id="age" name="age" min="18" max="100" required>

  <input type="submit" value="Submit">
</form>
HTML Interactive Forms and <form> Enhancements Example Code
Explanation of Code:
<fieldset>: Groups related form elements, giving them structure and an optional border for visual clarity.<legend>: Labels the group of fields within<fieldset>, helping users understand the purpose of the fields.<input type="checkbox" id="newsletter" name="newsletter">: A checkbox option for the user to choose whether they want to subscribe to a newsletter. Thenameattribute here indicates a single boolean choice.<input type="color" id="color" name="color">: A color picker input, allowing users to select their favorite color, enhancing interactivity.
<form action="submit_form.php" method="post">
  <fieldset>
    <legend>Personal Information</legend>

    <label for="name">Name:</label>
    <input type="text" id="name" name="name" required>

    <label for="email">Email:</label>
    <input type="email" id="email" name="email" required>

    <label for="password">Password:</label>
    <input type="password" id="password" name="password" minlength="8" required>

    <label for="age">Age:</label>
    <input type="number" id="age" name="age" min="18" max="100" required>
  </fieldset>

  <fieldset>
    <legend>Preferences</legend>

    <label for="newsletter">Subscribe to newsletter:</label>
    <input type="checkbox" id="newsletter" name="newsletter">

    <label for="color">Favorite Color:</label>
    <input type="color" id="color" name="color">
  </fieldset>

  <input type="submit" value="Submit">
</form>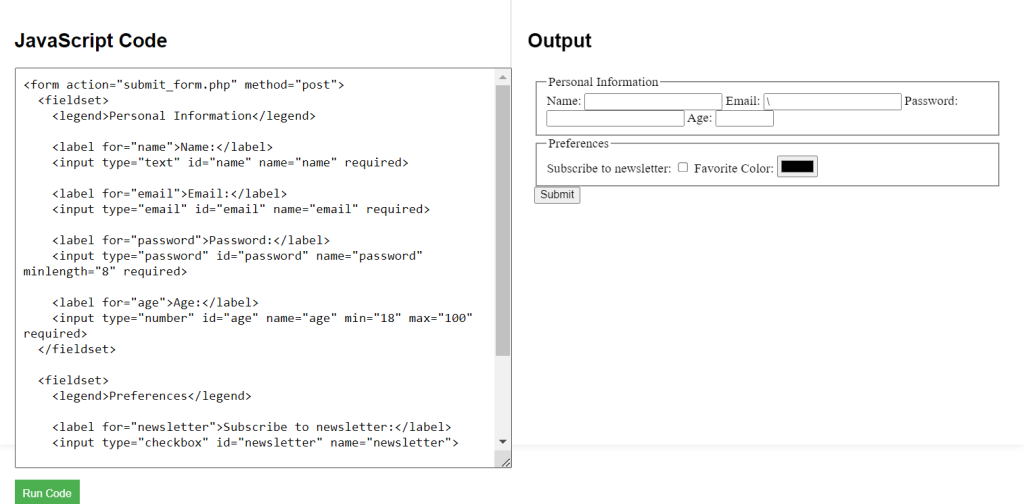
HTML Labs

